
The peplum top tutorial

How to make the peplum top
Instructions: 1. Place the front and back bodice together, right sides facing, pin the shoulders and sides and sew them. Repeat this with the front and back facing. 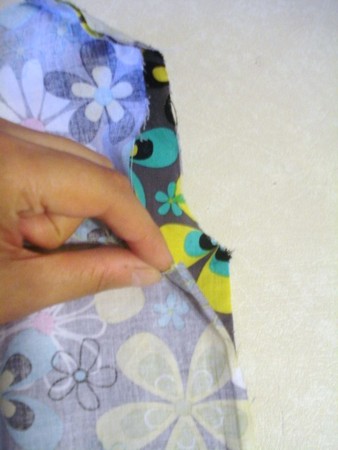
2. Double fold the hemline of the facing by 1/4 inch and sew it. 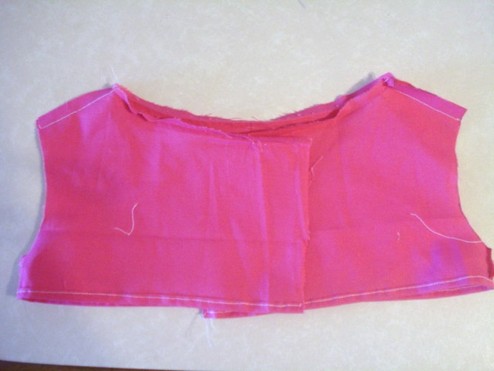
3. Place the bodice and the facing together, right sides facing; pin the neckline area and sew it.
4. Turn the top around to see the right side and sew along neckline.

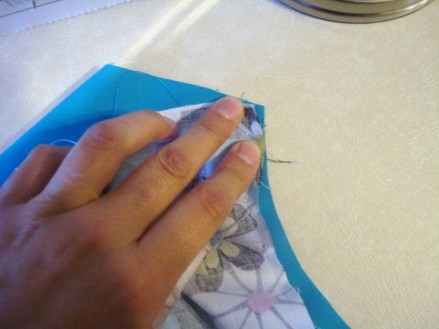
5. Tuck the armholes of the bodice and the facing in by 1/4 inch and pin it to keep in in place, then sew the armhole. 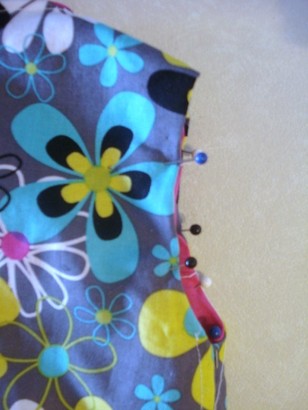
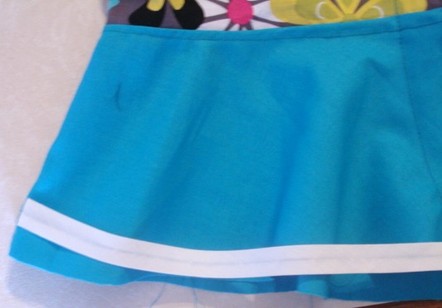
6. Peplum: Take your front and back peplum pieces and sew the sides of them together.
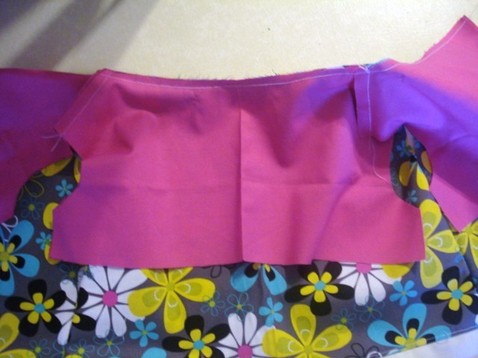
Now, place the bodice and the peplum together, right sides facing; pin them and sew them. 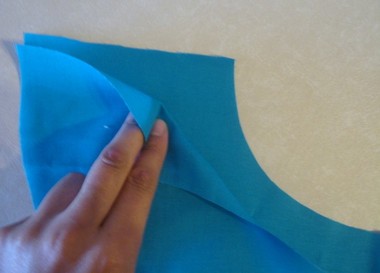
7. Turn to the back on the top, fold 1 1/2 inches of the back seam inside and pin it. Repeat with the other side. Those will be your buttonhole area.

8. Sew all around the areas, making two long rectangle (one on each side)

9. Pin the contrasting bias tape to the button of the peplum. Sew it carefully. When reaching the end, fold the bias tape in by 1/2 inch and sew the area.
10. Buttonhole area: You will need the buttonhole presser foot that it comes with your sewing machine and the buttons. I used 4 medium size buttons.
11. Mark the right side of the back seam with some horizontal lines to see where your buttonholes will be. For this top (12 months size) I made the lines separated by 2 inches. 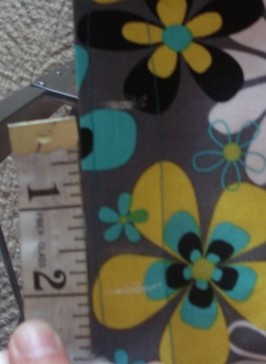
12. To finish, follow the instructions of your sewing machine to make the buttonholes. Then place the buttons on the left side of the back seam.
   |
|
And this is my top!
I hope you enjoyed this tutorial and let me know what you think :)
Happy sewing!
I hope you enjoyed this tutorial and let me know what you think :)
Happy sewing!